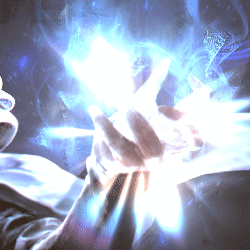
# Light Shafts Effect
The Light Shafts effect allows you to add animated light shafts to an image. You can adjust the corners of the light shaft and position them freely to direct the light in a desired direction, angle and length.
TIP
Please note that light shafts are also available as an asset. Using the light shafts as a standalone wallpaper asset makes sense if you want your light shafts to affect multiple layers and act as their own layer.
To add light shafts as an asset instead of an effect, click on Add Asset on the left-hand side of the editor and navigate to the Light Shafts section. From there, you will find the light shafts separated into their different directional modes.
# Effect Settings
- Blend mode: Controls how the light shafts blend with the background image.
- Direction: The direction setting offers three options to determine the shape of the light shafts:
- Linear: Light shafts appear as a straight line.
- Radial: Light shafts appear in a circle facing outwards.
- Corner: Light shafts appear coming from a corner. The corner can further be adjusted via the Corner setting which appears when this option is selected. Additionally, you can adjust the Noise (meaning certain random aspects of the visualization) further down in the settings list.
- Rendering: Allows you to select between a more simple Color-based option or a Gradient option where you can import a custom color gradient for your light shafts. The gradient option allows you to create rainbow-colored light shafts, for example.
- Exponent: Lower values result in a higher density of light.
- Intensity: Determines the overall brightness and strength of the light shafts.
- Feather: Higher values will reduce the light shafts more towards the center of the effect area. Can be adjusted for the X and Y axis separately.
- Smoothness: Determines the level of smoothing applied on the light shafts.
- Scale: The overall size of the light shafts.