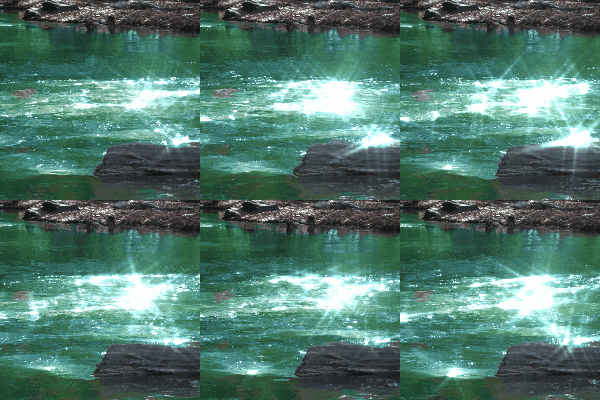
# Shine Effect
The Shine effect is similar to the Godrays effect but instead of just adding a single ray, it adds multiple rays in various directions. This can be used to create certain light scenarios but also works well in combination with particle systems if this effect is applied to a full screen or composition layer. The effect can be extensively customized and you might need to tweak a little depending on your use-case.

# Effect Settings
- Edges: This controls how many rays will be emitted by the shine effect.
- Quality: This allows you to configure how precise the rays will be. Higher values can have a severe impact on performance.
- Kernel size: This allows you to configure how blurry the rays will be. When less quality is used, you generally need more blur to hide artifacts.
- Blend mode: This controls how the shine effect will be blended with the background image.
- Noise: Enabling this option adds natural looking shimmer to the shine effect, it's highly recommended to keep this enabled in most cases to have the shine effect animated.
- Copy background: Enabling this option is useful for transparent images. If you apply the shine effect to a transparent image or text, for example, they will blend incorrectly and you will get a poor result. Enable this option to improve blending over transparent pixels and fix that.
- Opacity mask: You can paint this mask to limit casting of the rays into a certain area, like the sky or sun.
- Albedo: This texture will be scrolled to generate the noise animation.
- Color: This allows you to change the color of the rays.
- Blur scale: This allows you to further reduce or increase the blur that is applied to the shine effect.
# Noise
- Noise amount: This option controls how much noise variance will be added to the rays.
- Noise scale: This allows you to change the size of the noise variance. A high scale will result in more rapid, flickering changes while a lower scale will make the noise appear more uniform.
- Noise smoothness: This allows you to control the smoothness of the noise texture.
- Noise speed: This option controls how rapidly the noise texture is scrolled and applied to the rays.
# Ray Casting
- Direction: This changes the initial direction of the rays.
- Speed: This controls the speeds that the rays will rotate with.
- Ray threshold: This controls how bright the background image must be before rays are added to the image at any given point.
- Ray intensity: This allows you to change how bright rays will appear.
- Ray length: This allows you to adjust the length of the rays. Keep in mind that longer rays may produce artifacts and you may have to increase the quality option to get a nice looking effect.
