# Water Ripple Effect
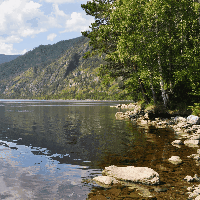
The Water Ripple distorts the image to add a ripple effect. The effect can optionally be scrolled along a specified direction. The effect can be used to animate still waters, hot air and to some extent clothing and hair.
# Effect Settings
- Opacity mask: You can draw this mask to determine what areas of your image the effect is applied to.
- Animation speed: How fast the ripple is animated.
- Ratio: Increases the effect horizontally or vertically.
- Ripple scale: The scale of the ripple details.
- Ripple strength: How much distortion is applied to the image.
- Scroll direction: In which direction to scroll the effect.
- Scroll speed: How fast the ripples move the image.
# Sample Usage
# Desert Heat
By tweaking the properties of the effect, the water ripple effect can also be used to create a rising heat effect. In the following video we showcase how to do this:
First, paint the opacity mask that covers the area of the image that you want the heat to be visible. In most cases, you mainly want the background to showcase this heat effect in the distance. In our example below, we paint an opacity mask with a full Amount of 255 around the horizon of the image while leaving the car and the foreground at a very low value or 0. We then change the properties of the animation:
- Animation speed: 0.15
- Ratio: 10
- Ripple strength: 0.1
- Ripple scale: 0.1
- Scroll direction: 0 (meaning upwards)
- Scroll speed: 0.15
Keep in mind that there are no right or wrong values, you can experiment around and tweak these values to your liking and to match the scene of your image! After you have set these values, you can fix any details in your opacity mask that you might have missed while painting for the first time. Have a look at the following video to get an idea of how we did it: