# The Basics of SceneScript
Almost every property of all Wallpaper Engine assets and effects can be controlled with SceneScript. In this introductory guide, we will showcase some basic capabilities of SceneScript to give you an idea of how to get started with SceneScript.
We will be using a simple Text Layer in this guide. If you would like to follow along, simply add a Text Layer asset to your wallpaper.
About This Introductory Guide
The following guide is rather lengthy because we try to go step-by-step for a slow introduction. It caters to absolute beginners and advanced programers alike, though if you are a seasoned programmer, it might suffice to just skim over it and move on to more advanced SceneScript tutorials or the SceneScript Reference.
We invite beginners to just work alongside this guide and experiment around a little. Be sure to watch the videos we provide under each section if you get lost.
# How to add SceneScript
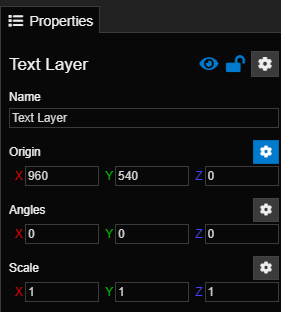
When selecting any element in the editor, you will find its properties on the right-hand side. Notice how all properties have a cogwheel icon next to them, as highlighted by the red arrows in the following screenshot:
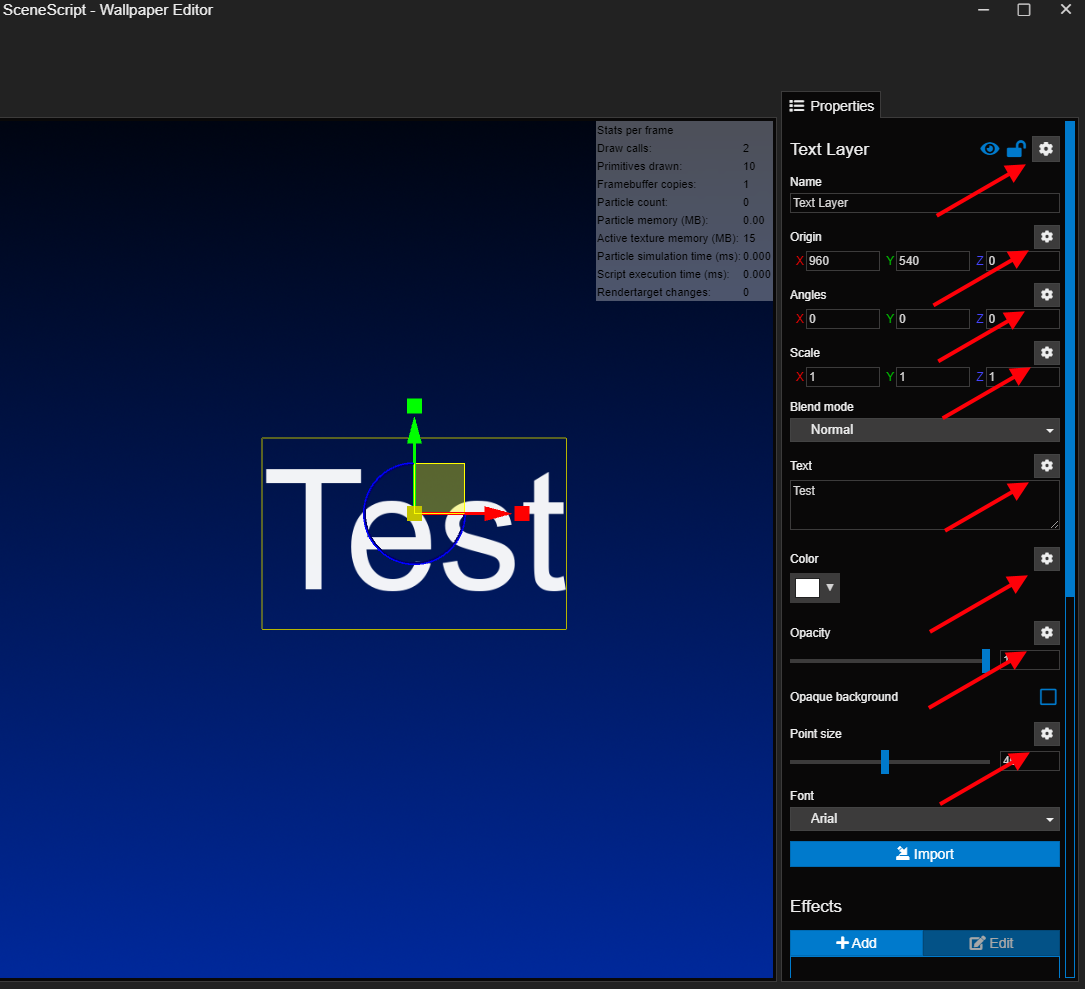
Whenever you see the cogwheel icon next to a property, it means you can bind SceneScript code to it by clicking on the icon and selecting Bind SceneScript. In our example, we will do this for the Text property of our Text Layer.
# The SceneScript update() Function
After clicking on Bind SceneScript, you will be presented with the SceneScript editor and the following auto-generated code snippet:
'use strict';
/**
 * @param {String} value - for property 'text'
 * @return {String} - update current property value
 */
export function update(value) {

	return value;
}
The update function that you can see is the core of most SceneScript activity. It is executed every time Wallpaper Engine renders a new frame for your wallpaper. This means, for example, that if a user has configured an FPS limit of 30, the function is executed 30 times per second. In the code snippet above, you can see that essentially nothing happens: value is passed to the function and it is returned without modifying it.
The update function can be separated into three parts:
- You get the current value of the user property in the parameter named
value. - You run your code and potentially modify
valuewith your custom logic. - The new
valueis returned.
The type of value depends on the property, in this case, it is a String since we are working on the Text property.
# Modifying a Value with SceneScript
Let's modify value now. We will start with a very simple example and change the text of our Text Layer to 123!! with SceneScript by overwriting the contents of value:
'use strict';
/**
 * @param {String} value - for property 'text'
 * @return {String} - update current property value
 */
export function update(value) {
	value = "123!!";
	return value;
}
After adding the new line to the code, confirm by pressing OK in the upper right corner, this will close the editor.
# Executing SceneScript
You will not see any changes in the editor at first. This is because the editor does not execute SceneScript code constantly. Instead, press the Run Preview button at the top to execute your SceneScript snippet. You will now see the value of the text layer change to 123!!.
You can see these steps in the following video:
# Dynamic SceneScript Content
The previous example we showed is a little basic and using SceneScript for a static text change does not really make sense since we could just set the value directly in the editor. Let's introduce some dynamic text content.
As explained initially, SceneScript is based on ECMAScript like many other languages, notably JavaScript. This means, we can access the current computer date and time through the Date class. This allows us to change the text of the text layer dynamically and, for example, build a working clock just like you could in JavaScript.
Instead of building a full clock, we will keep it simple for this tutorial and only show the seconds of the clock. To achieve this, we first create a new Date object by writing let date = new Date();. The Date class comes with various functions related to date and time, for our example, we simply retrieve the current seconds via date.getSeconds(); and immediately return it as a new value without even overwriting the value variable:
'use strict';
/**
 * @param {String} value - for property 'text'
 * @return {String} - update current property value
 */
export function update(value) {
	let date = new Date();
	return date.getSeconds();
}
When executing the SceneScript code now, our text layer will represent the current seconds of your device clock. See this example and the result in the following video:
# Property Types
In the previous example, we used the Text property which holds a custom text in the form of a String. But what about other properties like Origin, Angles and Scale for example?
These three properties consist of an x, y and z value. In order to handle these properties, Wallpaper Engine supplies a new class called Vec3 that will be used whenever you bind a script to these properties. The Vec3 class holds the three x, y and z values and allows you to access and modify them in the update cycle.
Let's explore this in a simple example. We click on the cogwheel icon next to the Origin property and then select Bind SceneScript just like before. We can now modify the position of the element by overwriting value.x, value.y and value.z. In the following example, and we only overwrite the y value and leave the others unchanged:
'use strict';
/**
 * @param {Vec3} value - for property 'origin'
 * @return {Vec3} - update current property value
 */
export function update(value) {
	value.y = 200;
	return value;
}
Also note how Wallpaper Engine automatically filled in the type hint @param {Vec3} in the comment above the update function so that you can always see what type you receive and what type will be returned.
If we save this code now and then use the Run Preview function again, you will see your object jump to the position that you defined in your SceneScript code. See this process in the following video:
# Moving, Turning and Scaling objects with SceneScript
Let's add a more dynamic aspect to our previous example and actually move our object instead of just placing it in a random point in our scene. There are multiple ways you can approach this, we will showcase one example here.
We will start with a less-ideal solution first and move on to a better way in the next step. One way to approach this would be to start with any value, such as 500 in our example and then continuously increment this value. Wallpaper Engine supplies a global engine object that you can access from anywhere in the code. It comes with a handy engine.runtime object, which holds the current runtime of your wallpaper.
In our example, we want to move our object upwards. We place the starting height 500 in value.y and then add engine.runtime to it. We multiply engine.runtime with 100, so that our object moves 100 pixels for every second of runtime:
'use strict';
/**
 * @param {Vec3} value - for property 'origin'
 * @return {Vec3} - update current property value
 */
export function update(value) {
	value.y = 500 + (engine.runtime * 100);
	return value;
}
To see this process and the outcome of this, watch the following video:
As you can see, our object will now infinitely float upwards which is not exactly great. Another important thing to note is that eventually, engine.runtime will rollover back to a value of 0 if enough time has passed, so it's generally not a very reliable long-term approach.
One thing we could do now is to wrap engine.runtime into a sine function for example. This means that the value will constantly move up and down between -1 and +1 in an infinite sine wave.
We can use the global Math object for this, you might already know this from JavaScript or similar languages:
'use strict';
/**
 * @param {Vec3} value - for property 'origin'
 * @return {Vec3} - update current property value
 */
export function update(value) {
	value.y = 500 + (Math.sin(engine.runtime) * 100);
	return value;
}
This might seem confusing at first glance, but essentially this means that our y value will now smoothly move up and down from 400 to 600, since Math.sin(engine.runtime) * 100 will continuously create values from -100 to +100.
Check out the following video to see this section and its result in action:
# Debugging SceneScript
If you are confused about the behavior of your script or if you run into any errors, be sure to check out the Log tab which is at the bottom of the editor window by default. Any errors and warnings will be printed there during script execution.
A common approach we recommend to take whenever the behavior of your scene is not as you expect is to use the console.log() function. This function allows you to log the value of any variable which can help greatly with understanding the behavior of your app.
Make sure to always remove any console.log() instances from your code before publishing your wallpaper as the log file calls can negatively affect performance. see the following code snippet where we log value.y from our previous code example to the editor log:
'use strict';
/**
 * @param {Vec3} value - for property 'origin'
 * @return {Vec3} - update current property value
 */
export function update(value) {
	value.y = 500 + (Math.sin(engine.runtime) * 100);
	// TODO: REMOVE BEFORE PUBLISHING
	console.log(value.y);
	return value;
}
If you use the Run Preview functionality in the editor now, you will see how Wallpaper Engine will continuously log the value of value.y to the editor log whenever the update() function is called. See the following video to see this in action:
TIP
Usually it suffices to debug the behavior of your SceneScript code in the editor. In some cases you might want to debug your wallpaper while it is applied to your desktop. In this case you can set the Log Level in the General tab of the Wallpaper Engine settings to Verbose. Wallpaper Engine will now log all console.log() calls in the Wallpaper Engine log file located in the wallpaper_engine directory, by default you can find the file here:
C:\Program Files (x86)\Steam\steamapps\common\wallpaper_engine\log.txt
# More About SceneScript
If you have worked your way through this page, you should have a good understanding of the fundamentals of SceneScript. Be sure to take a look at the SceneScript Reference to get an overview of all classes, globals, events and modules that SceneScript offers.
Additionally, check out our SceneScript Tutorials for some specific and advanced use-cases of SceneScript.