# Character Sheet Creation
Wallpaper Engine allows you to create a character sheet which you can use to create a high-quality puppet warp animation. As a prerequisite, you need a character that has been cut out and loaded into Wallpaper Engine as its own layer. You can use the foreground separation feature of Wallpaper Engine to cut out a character from a base image or use a third-party image editing tool of your choice to manually create a character cut-out with a transparent area around your character.
# Character Sheet Introduction
Character sheets cut up characters from an image into multiple independent parts and allow for layering of individual body parts for much more detailed animations using puppet warping. In our example, we use the same character that was used in the foreground separation tutorial:
Most notably, the sword has been removed from the original character and the area it previously occupied is filled in with a color blur of the surrounding areas. For many animations, this blur will be hardly noticeable in later animations. Take a look at our sample puppet warp animation we created with the previous character sheet and notice how the sword, shield and head all move quite strongly without causing any distortions or unwanted side effects on the surrounding body parts, which is the main advantage of using puppet warp animations with character sheets:
# Creating a Character Sheet
To get started, select the layer that holds your character cut-out in the editor. Right-click on it and hover over Image Editing and select Character Sheet Creation.
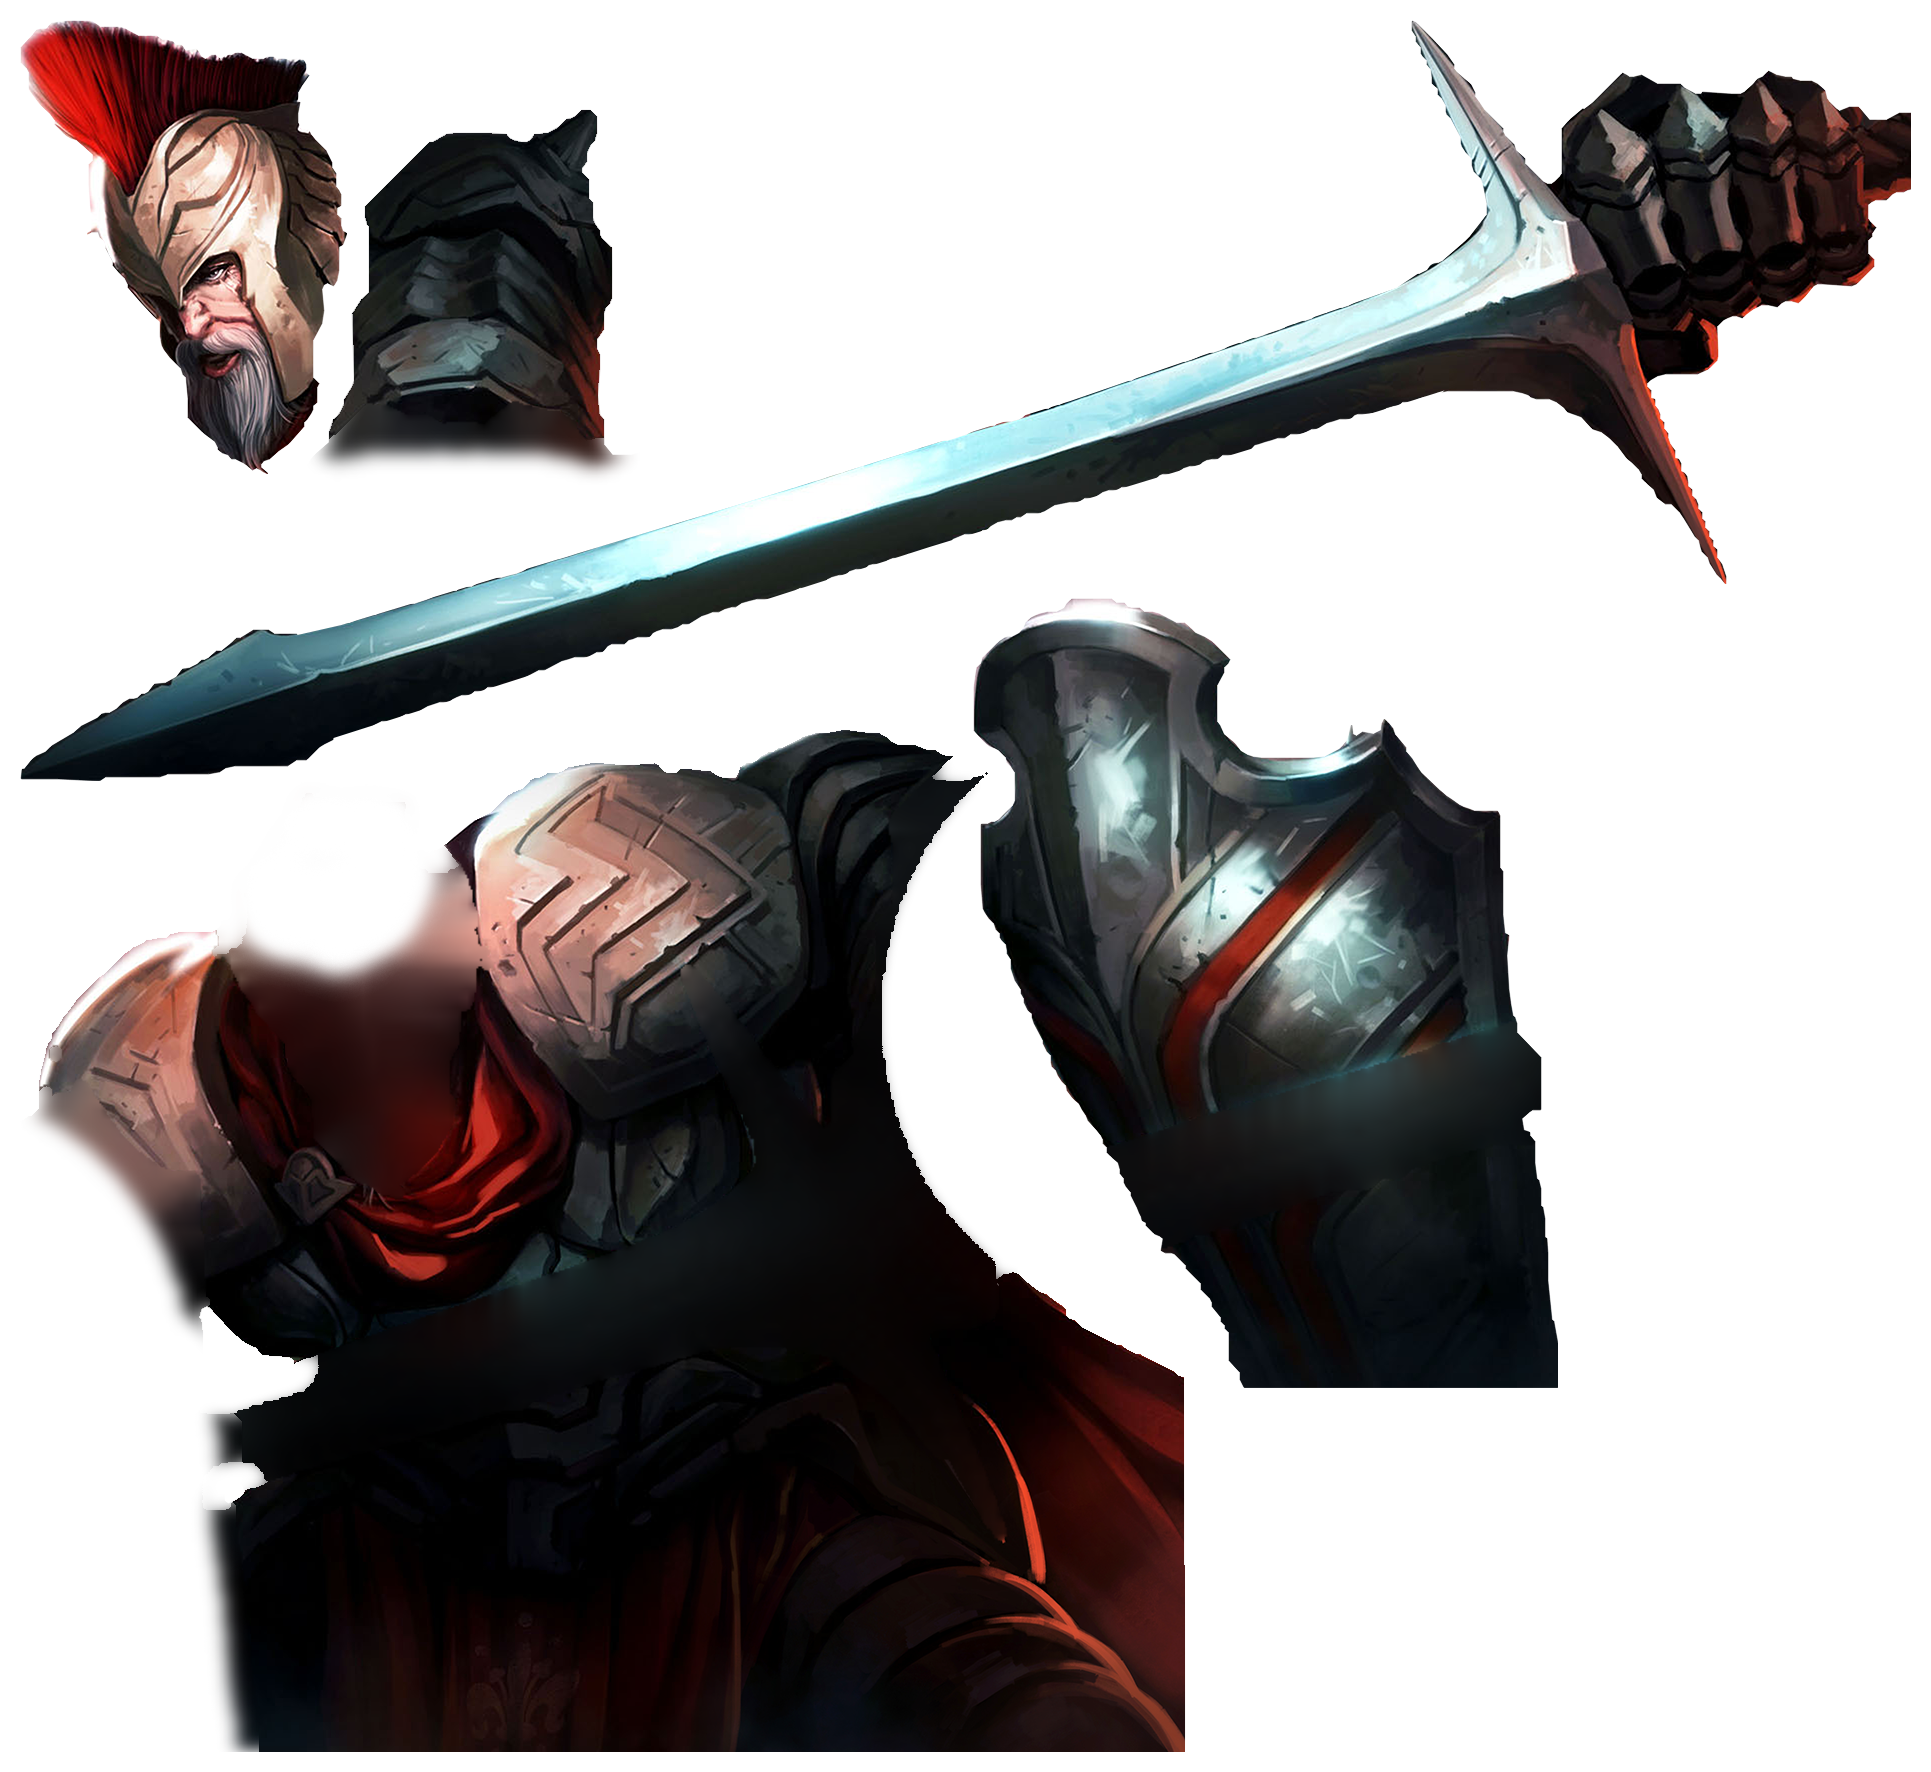
# The Foremost Limb
The first thing you need to do is to create a new limb. Click on the Add Limb button to create the first limb which is part of your body. Notice how there is a hierarchy on the left. Each limb can be further subdivided into additional limbs for more complex character sheets. You should always start with the foremost limb and work your way down. In our case, we want to start with the arm and sword of our character as it is the foremost element. We name our limb Arm and it will appear as the first child of the Body.
We start by painting the complete sword and arm as the foreground area and make sure that the rest of the body is properly selected as background. You will find two buttons towards the top of the sidebar: Mark Foreground and Mark Background. Start painting over the areas of your designated limb with the foreground brush. The area will appear with a light white color. It is not necessary to paint an absolutely perfect area, Wallpaper Engine will attempt to automatically detect the limb you are trying to paint. Use the background brush to specifically tell Wallpaper Engine which parts of the image are not part of your limb.
# Tips for Masking
If you have an especially complex character, it may make sense to increase the Quality option at the bottom of the sidebar, though this will significantly increase the time it takes for Wallpaper Engine to recalculate the current limb selection. In this case, you can toggle off the Auto Recalculate option in the lower left corner, just be sure to manually use the Recalculate button to ensure you changes take effect!
Lowering the Smoothing option all the way to 0 will also give you a more accurate rendition of your object, though it may look a bit more jagged. However, don't worry if your mask is not perfect, smaller imperfections will become rather hard to notice in your finalized animated wallpaper. See our video for our approach to painting the mask for the arm of our character:
While painting the mask, make sure to regularly check the Foreground and Background views by pressing the buttons in the View section. You can also toggle the mask using the Mask button or by pressing M on your keyboard to get a unobstructed view at the original image.
Tip
In this tutorial, we are showcasing the Paint Brush Mode for the character sheet creation. You can also use Polygon Mode to draw the outlines of your character's limbs. To learn more about the two paint modes, see the relevant section in the foreground separation tutorial where we showcase both options:
# Further Separating a Limb
Once the arm and sword have been properly masked, we continue by further separating the arm from the sword, this will give us some additional flexibility in the puppet warp animation. To do this, make sure the Arm is selected in the hierarchy, then click on the Add Limb button to create a child limb of the arm. In our case, we will name it Sword. Just like before, we mark the sword and hand as foreground, while we mark the upper arm as background. Since the sword has already been separated from the main body, we don't need to be very precise with our painting, as the arm is now presented in its cut-out state and the main body is completely ignored:
# Additional Body Limbs
We continue with our character by creating another limb. Unlike last time, we move back to the Body in the hierarchy by selecting it first, then we create a new limb using the Add Limb button. We want to create a limb that represents the shield of our character. What is interesting to note here is that the sword that we have previously made a limb will now be ignored since it has been separated from the shield. Effectively, this means we can ignore the shield while drawing our foreground mask and you will notice that the area that was previously covered by the sword has now been filled with a blurred color that roughly represents the shield's overall color scheme:
# Finalizing the Character Sheet
In the final step, we create yet another limb on the Body, representing our character's head. After properly masking it just like before, we are ready to finalize our character sheet. Be sure to check all limbs one more time and make sure that they look exactly as you expect. For our character, we now have the Body (which always exists), followed by the head, shield and arm. The arm has another child limb, namely the sword.
Since we are satisfied with our character sheet, we confirm by clicking on OK in the lower right corner. Wallpaper Engine will now generate a character sheet from all the limbs we have drawn. We can now use the character sheet layer to create a puppet warp animation. See the puppet warp character sheet guide in order to continue from this point on.
Should you notice smaller issues with the character sheet, keep in mind that you can still make minor adjustments to the character sheet by connecting Wallpaper Engine with an external image editor and then editing the Albedo texture, see the following guide for more infos: