# Puppet Warp Introduction
Puppet warping is an advanced way to create complex animations for characters and some objects with Wallpaper Engine. Puppet warping is a multi-step process that requires you to have a separate image layer with a cutout of the character or object you want to animate.
Before you get started
Puppet warping relatively complex feature, you can also create character animations with just image effects such as the Shake effect which is a much simpler process.
Before you get started with puppet warping, you should have a basic understanding of Timeline Animations as the principles applied there are used to create the animations in puppet warping.
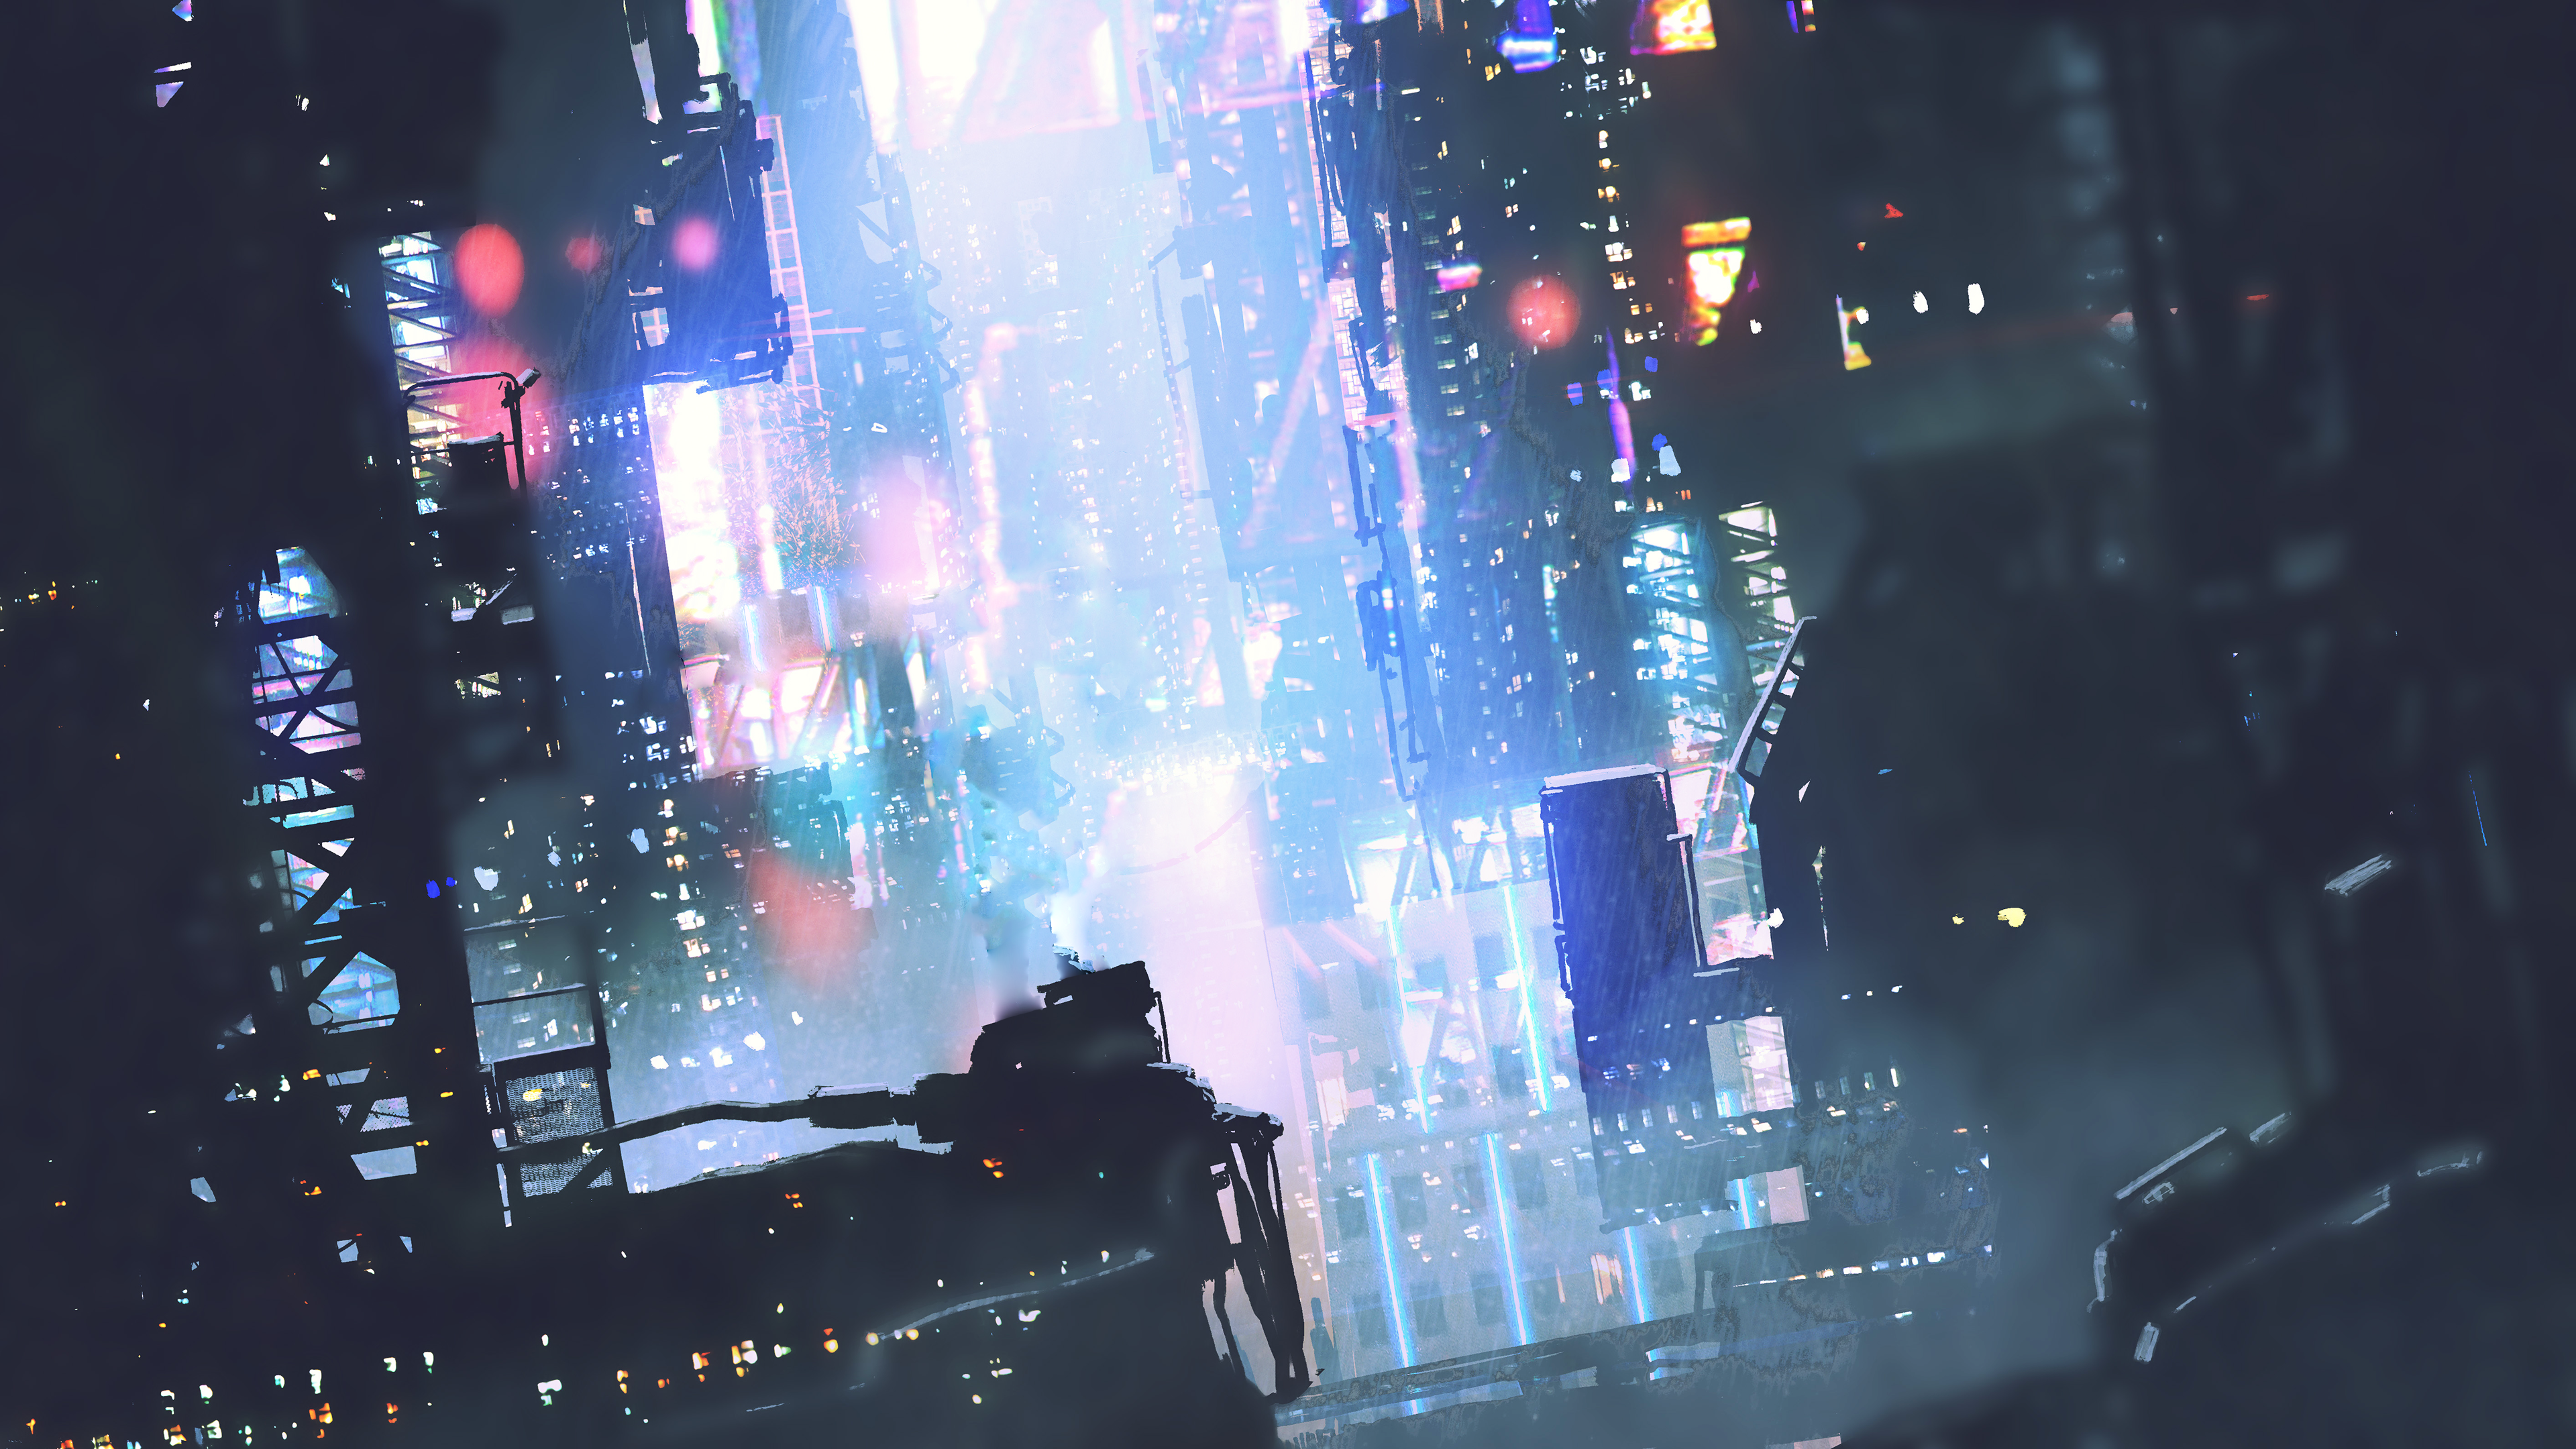
In this tutorial, we will create a simple puppet warp animation using a samurai character that we have cut out of an existing background image using Photoshop. We have then retouched the original image to hide the already existing character from the image. If you are unable to work with a cutout of a character, puppet warping is likely not the right tool for you and you should instead rely on character animations using image effects.
# Puppet Warp Process Summary
All puppet warp animations consist of multiple steps which you can see in the preview video above. We will discuss all steps performed in Wallpaper Engine in this tutorial in detail:
- Creating and importing a character cutout that is suitable for puppet warp.
- Establishing the geometry of the character.
- Creating the skeleton of the character.
- Improving the limbs of the character by changing their "weights".
- Animating the character.
- Placing the character in the scene.
# 1. Creating and importing a character cutout
Puppet warping requires a clean image cutout with transparency around the character model. We used Adobe Photoshop for this task but you can achieve similar results with free software such as Paint.NET and GIMP for example. We first cut out our samurai character from the base image. We then cleaned up the base image by painting over the existing samurai and removing him from the picture altogether, resulting in a base image without the character. You can see we did not necessarily do a perfect job with the removal but since we will place the samurai back to where it was, the imperfections are hardly noticeable in the final wallpaper as it will be mostly hidden by the same character again. You can obviously also use a character from one image and place it on an entirely separate background if you would like.
The main character cutout we imported into Wallpaper Engine was the following image file:
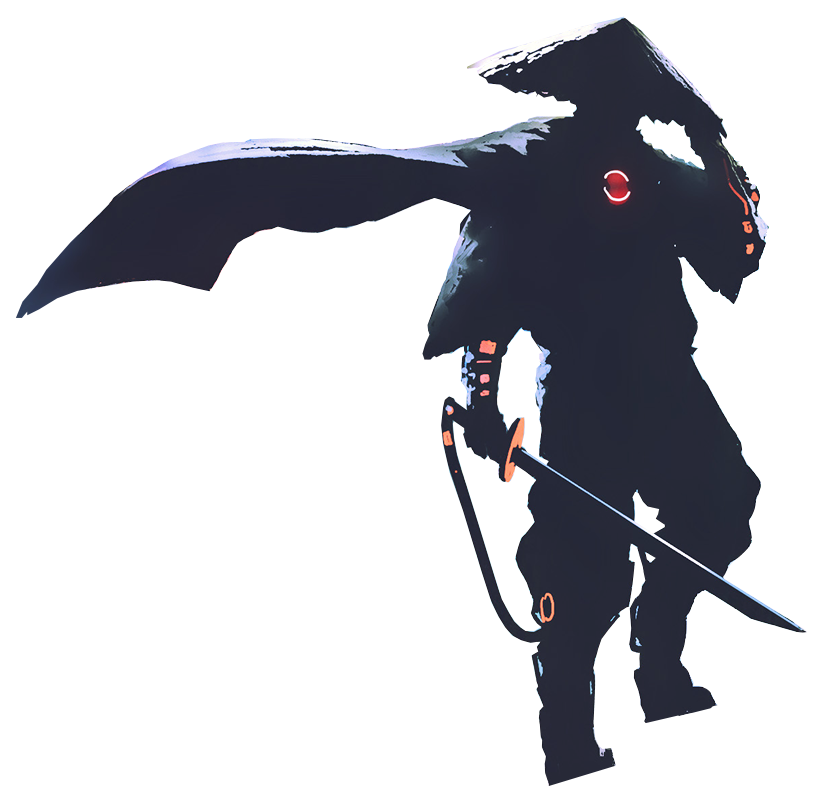
If you would like, you can take the character file and the base image without the character and follow along with this tutorial.
# 2. Establishing the geometry of the character
Once your character cutout is ready, import it into your Wallpaper Engine project and select it. Scroll down on the right-hand side until you reach the Puppet warp animation section and click on Edit Puppet Warp. Wallpaper Engine will now present you with the steps necessary to create an animation with puppet warping. The first step is to create the geometry of your character. By clicking on the Create button below Geometry, Wallpaper Engine will establish a mesh of your wallpaper. You can increase the number of subdivisions on the mesh using the Subdivision slider. If you want to combine your puppet warp with the Shake effect or another effect that extends outside of the mesh, you should also increase the Padding so that the outline of the mesh increases. Any image effects that are later applied to a puppet are limited to the area that you configure here.
For this tutorial, we leave all these settings as they are but you may want to experiment around with your specific object to see if changing the mesh subdivisions increases the accuracy of the generated mesh.
# Advanced geometry setup
It is worth noting that the geometry setup offers some advanced settings which allow you to fine-tune the geometry of your puppet warp. By clicking the Lock geometry for vertex editing button, you can lock the automatically generated geometry and make further changes to it yourself by re-arranging the geometry mesh via the Edit Topology functionality.
You can experiment around with it if you like, but generally you can skip this step if you are happy with the mesh that was generated. It is mainly relevant if you want to be extra precise, for example when creating blend shape animations.
The 3D Perspective Extrusion feature is also reserved for another tutorial that you can find in the puppet warp section. When the geometry is locked, you can use the advanced method of perspective extrusion in the Deformation menu.
# 3. Creating the character bone skeleton
After establishing the general geometry of the character, we now need to tell Wallpaper Engine where the character model has movable joints which are referred to as bones in the editor. Click on the Create button in the Skeleton section of the puppet warp overview to get started.
In this section, you can define multiples bones and one or more root bones which will later be used as reference points in your animation. You can create bones by clicking on specific points on the character and Wallpaper Engine will draw a connection between the last and the current bone. If you first select a bone and then create a new bone, the connection will be created between these two points. The behavior of bones can also be further tweaked with advanced settings, but these features are reserved for more advanced tutorials.
Root bones serve as a way to define the center of mass or a point that is nearly immovable. Typically you would set it in the center of a character or the feet. You should typically only use one root bone per character or object but if the image you are working with contains multiple separate objects or characters, you should create a root bone for each of them.
# Adding bones to our samurai example
For our samurai character, we create the root bone at the lowest point of the feet since we want the feet to not move during our animation. We then place another bone above the legs and another bone centered in the chest area. This bone would have also been a good candidate to serve as a root bone, however, since we are not planning on animating any leg movement, we have decided to use the feet as the root bone.
From the bone that is centered in the chest area, we place one bone towards the head, then we select the bone at the chest once again and create a bone on the right arm. Since we also want to animate the cape, we select the bone in the chest area once again and then create three bones across the cape.
You can see the complete process in the following video:
# 4. Defining the limbs of the character by changing their "weights"
The next step is to define individual limbs / "regions" of our character. Once the skeleton has been configured, you can click on the Edit button in the Weights section of the puppet warp overview. Wallpaper Engine will try to figure out the different limbs and regions of your wallpaper, each being represented by an individual color which relates to a specific bone that was created in the previous step. The "weights" define how much each bone influences each point of the character.
You can click on a bone to select its color and then click on the Paint Weights button to paint over any issues with the areas that Wallpaper Engine generated for that specific bone. For example, in our case, Wallpaper Engine did not assign the complete hat of the samurai the same color but we want to make sure that the hat later moves as one coherent object. We select the bone in the hat area and start painting the complete hat in the color of the bone. You can see how the slices we added in the geometry step help here to sharply cut off the hat from the rest of the body.
We also fix the bottom area little and make sure the sword and its hand belong to the same bone but the rest looks good for our purposes.
Be sure to always test if everything was painted correctly, especially near holes, it's easy to paint a little too much into the wrong area and suddenly far-away parts start moving when they should not. You can always select a bone and start turning it to preview what any animation movement would look like. The movements you do while painting the weights are just previews, you can always reset them with the Reset Pose button.
You can see this process including turning the hat in the following video:
# 5. Creating animations with the finalized puppet
The final step in the puppet warp process is to actually create animations. This is done using Timeline Animations on the individual bones we created. You can get started by clicking on Create in the Animation section of the puppet warp overview and then clicking on the Add button in the list of animations. It's possible to create multiple animations for one object, which is why animations are stored as a list like that.
Similarly to Timeline Animations, you are asked to select an animation mode, a time in seconds and a number of frames. We will use a Loop animation, in that case it's important that all bones start the way the animation ends to ensure there are no sudden jumps. In some cases, it may also be easier to just create a Mirror animation which is first played forward and then played in reverse which may not be noticeable in simple cases such as a breathing animation. Single animations can be used as intro animations or in combination with more complex SceneScript logic.
For our animation, we set the length to 5 seconds but these lengths are highly subjective and you may prefer to create a longer or shorter animation.
# Creating and setting up the animation
Since we are working with a Loop mode animation, we will create a keyframe at the first and last frame of each bone just as we get started so that we can ensure that the animation always starts where it ends to prevent any sudden jumps to the first frame.
You can skip this if you are not using Loop mode on the animation, otherwise you can quickly do this by loading the default pose that is stored for every animation on the last frame. Move the timeline slider to the last frame, then simply click on the Load button in the Poses section. Nothing will appear to happen at first, but once you select any of the bones, you should see keyframes at the first frame and keyframes at the last frame for each value. Using the Load button is simply a quick way to achieve this, you could also go through each bone individually and click on Toggle Keyframe at the last frame to achieve the same outcome.
You can see this setup process in the following video:
# Animating the bones
Now it's time to animate all bones that we want to move during our animation. We will start with the root bone and work our way up to the outer bones of the character. With puppet warp animations, you generally only want to animate the angles of the bones and not the scaling or movement. This is very important to keep in mind because moving or scaling bones will cause the object to distort, so the large majority of puppet warp-based animations only rely on animating the angles.
In our example we will not animate the root bone at all but rather start at the bone in the upper legs. By introducing two keyframes with a slight angle movement towards the middle of the timeline, we set up a bit of forward leaning animation of the character. We then move up to the head and create a nodding motion by slightly pulling back the angles of the hat. We then also line up the bone animation on the right arm with the hat movement to make it appear as if the right arm moved the hat. Lastly we move all the bones of the cape a bit up and back down alongside the the overall leaning motion of the character.
Once we're done with a first draft of our animation, we can save it and then go back to the initial image layer and apply the animation and look at it in our full scene. You can always tweak it further by going back to your puppet warp animations overview and editing the existing animation. It takes some getting used to the animation process and getting an animation right will likely always require a few iterations and just some trial and error.
You can view the steps we described in this section in the following video and just try and work along:
This sums up the basics of puppet warp animations. The approach described in this guide is already great for creating complex animations and you can even combine it with the traditional effects that Wallpaper Engine offers. You can explore the additional tutorials on puppet warping to see some advanced features that can help to push the puppet warp animations even further but you should first be comfortable with the basics outlined in this tutorial before moving forward.